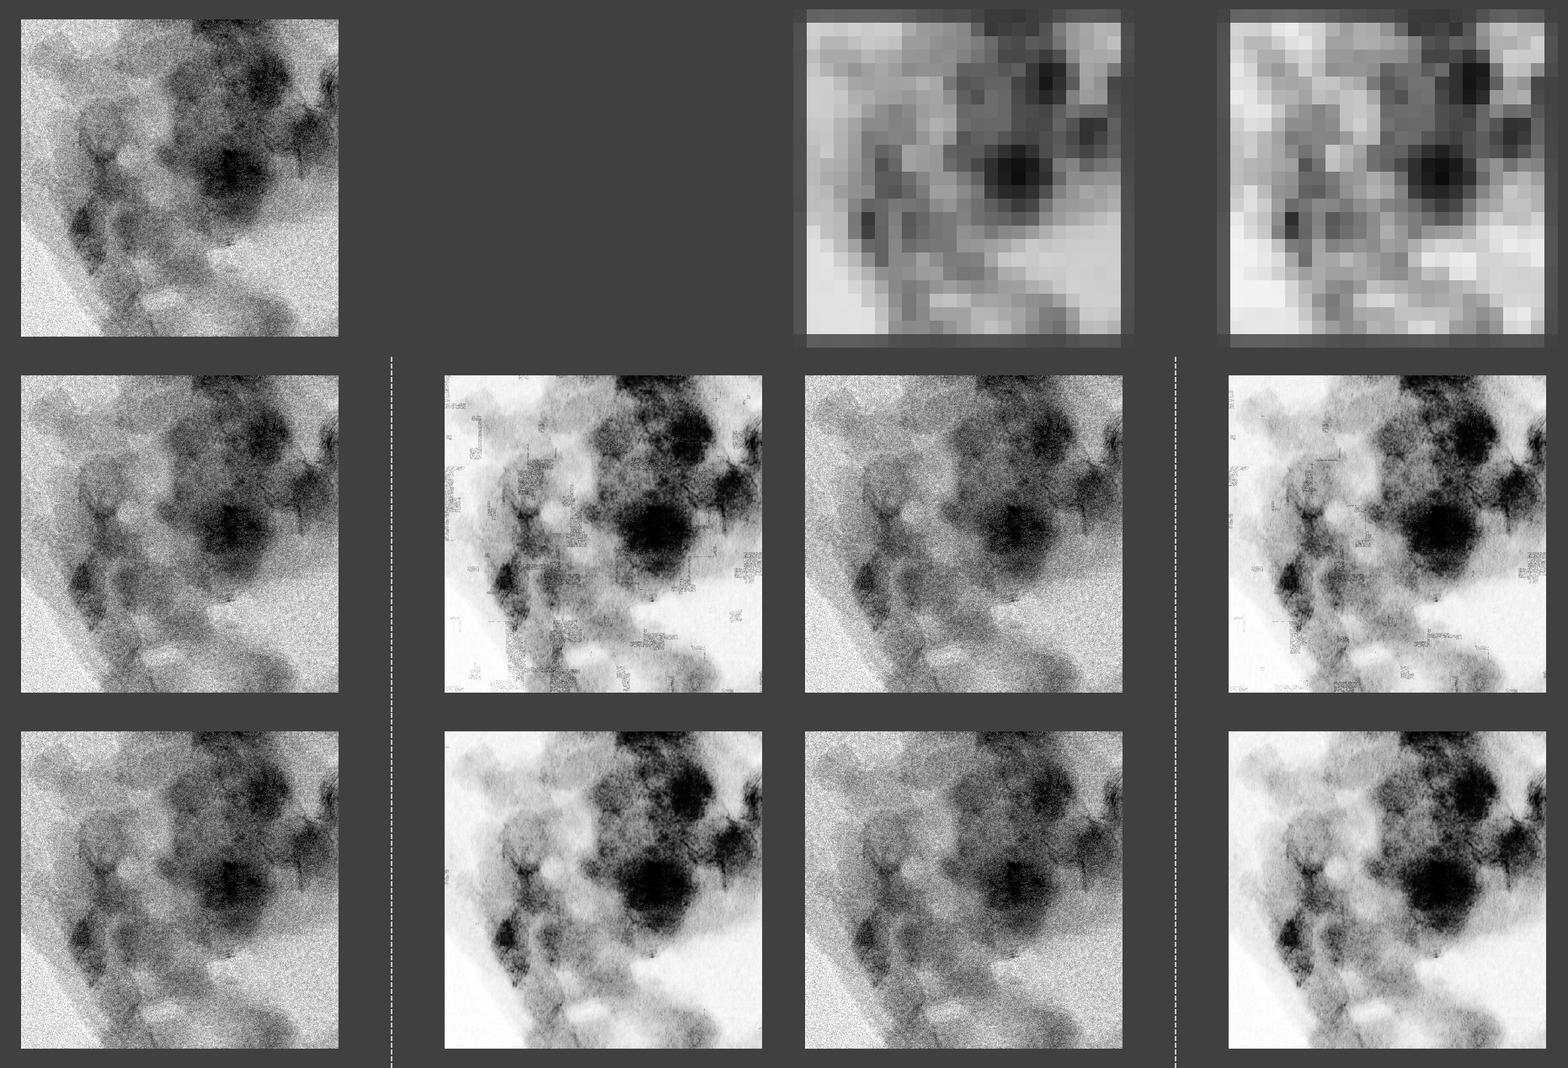
Perform drastic noise reduction in your images using deep learning. This module makes a convolutional neural network (CNN) in ONNX format available directly inside plug im. The module performs patch-based stochastic inference, as described in Hammoumi et al. Neurocomputing 2020. (see link below). The calculation uses only the CPU and is compatible with a computer without a specific graphics card. The CNN is the standard U-net architecture*.
We've also provided a complete tutorial, from installation to the creation of the trained network in ONNX format. Simply download the files from the link provided and follow the instructions. The illustrative images in the tutorial are high-resolution, low energy, STEM images acquired with fast acquisition time. Training is performed on images acquired with higher energy and longer acquisition time. All images are supplied by IFP Energies nouvelles.
Tutorial instruction:
o Install Miniconda3 for Windows 64-bit, following default instructions fromt the official site ( https://docs.conda.io/projects/miniconda/en/latest/index.html ).
o Download and extract the zip file provided with the second link below (Tutorial files).
o In the folder “InstallPythonTraining", open with notepad the file “INSTALLTrainingENV.bat” and update the first line with the correct path to Miniconda environments (C: \ Users \ YOUR-USER-ACCOUNT-NAME \ AppData \ Local \ miniconda3), save the file, then double click on the file.
This will automatically install a Python environment.
Check that your network configuration or VPN does not prohibit the installation of certified Python packages.
o In the folder "Training", open the file "TrainingENV.bat" with notepad and update the first line with the correct path to Miniconda environments (C: \ Users \ YOUR-USER-ACCOUNT-NAME \ AppData \ Local \ miniconda3), save the file, then double click on the file.
This will automatically launch Jupyter Notebook. Open "NoiseReduction.ipyn" Jupyter Notebook.
Inside section "File parameters", set correctly the path name of the learning database ("vardir" variable).
Samples images for training are already provided in subfolders (Training/image ...)
Run the notebook.
Wait until complete CNN training.
In this example, the training procedure uses only 3 pairs of 1024x1024 images. The number of samples is increased by cutting them into 128x128 patches, with 64 overlapping. The architecture is an encoder-decoder network with short circuits, the original U-net* architecture. The loss function is an ssim function **.
* O. Ronneberger, P. Fischer, and T. Brox, "U-Net: Convolutional Networks for Biomedical Image Segmentation," in Lecture Notes in Computer Science (Including Subseries Lecture Notes in Artificial Intelligence and Lecture Notes in Bioinformatics) (2015), Vol. 9351, pp. 234–241.
** Z. Wang, A. C. Bovik, H. R. Sheikh, and E. P. Simoncelli, "Image Quality Assessment: From Error Visibility to Structural Similarity," IEEE Trans. Image Process. 13, 600–612 (2004).
o In the folder "InstallPythonONNXconversion", open the file "INSTALLOnnxConversionENV.bat" with notepad and update the first line with the correct path to Miniconda environments (C: \ Users \ YOUR-USER-ACCOUNT-NAME \ AppData \ Local \ miniconda3), save the file, then double click on the file.
This will automatically install a Python environment.
Check that your network configuration or VPN does not prohibit the installation of certified Python packages.
o In the folder "ONNXconversion", open the file "OnnxConversionENV.bat" with notepad and update the first line with the correct path to Miniconda environments (C: \ Users \ YOUR-USER-ACCOUNT-NAME \ AppData \ Local \ miniconda3), save the file, then double click on the file.
This will automatically launch Jupyter Notebook. Open "H5toONNXconversion" Jupyter Notebook.
The notebook converts “Denoise.h5” file from the “Model” folder (Training/Model) into onnx file format "Denoise.onnx" providing correct input and output destinations and filenames.
o Install the provided plug im! module, "Inference CPU only". Don't forget to update "ONNXmodel" parameter with the path and filename of the trained CNN in ONNX format. Enjoy the result using the images from the "Example" folder.

Comments
You must be logged in to post a comment.